
-
Organization Admin
-
Service Agency
-
Service Provider
Add Property
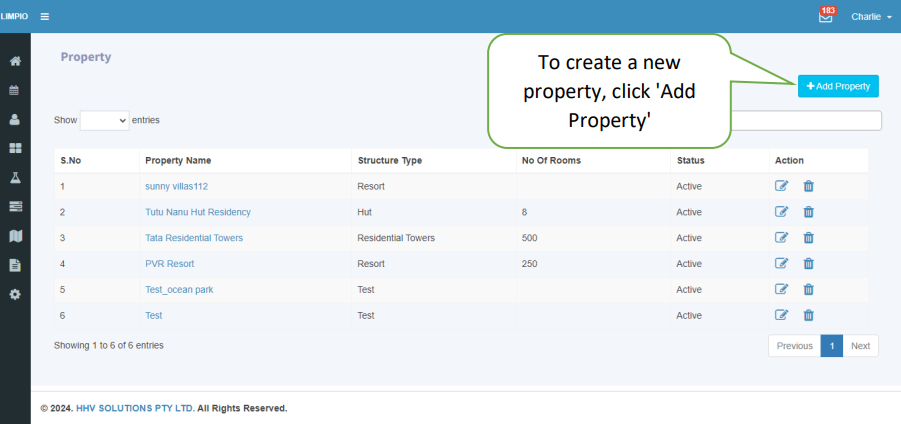
To create a new property click add property button on the right side of the property master.
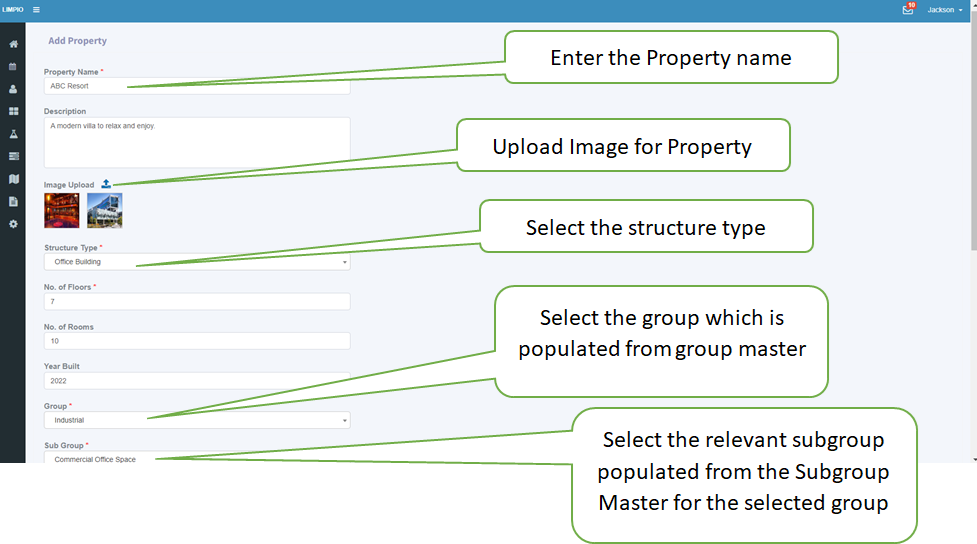
Property Name:
This is where you enter the name of the property, such as "ABC Resort".
Description:
In this field, you can provide a detailed description of the property.
Image Upload:
You can upload the image of the property.
Structure Type:
When you click on the ‘Structure Type’ dropdown, it will show options such as ‘Units,’ ‘Individual House,’ ‘Multi-Floor Property,’ and ‘Town Houses’ for selection.
Number of Floors
Add the total number of floors in the property.
Number of Rooms:
Enter the total count of rooms within the property.
Year Built:
Specify the year in which the property was constructed.
Group:
Select the group to which the property belongs. The selected property populated from group master.
Subgroup:
Choose the subgroup that comes with the selected group. The available subgroups are populated from the Subgroup Master.”
Country:
Specify the country where the property is located, such as "Australia."
Address Line 1 and 2:
Enter the street address details, including house or building numbers and street names.
City:
Specify the city or locality where the property is situated.
State:
Enter the state name belongs to the selected country
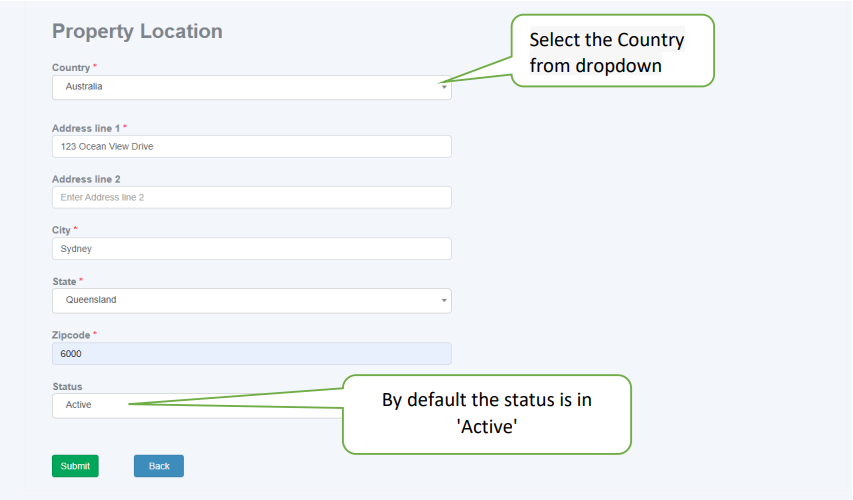
Zip code:
Enter the postal code or ZIP code for the property's location
Status:
By default status is 'Active,' and you have the option to select 'Archive' or 'Inactive'.
Submission and List View:
After entering the Property details, click the “Submit” button, you will then be directed to the list page.
List Page:
- On this page, you can view the Property you created.
- If necessary, you can also edit the Property from this page
Archive Property

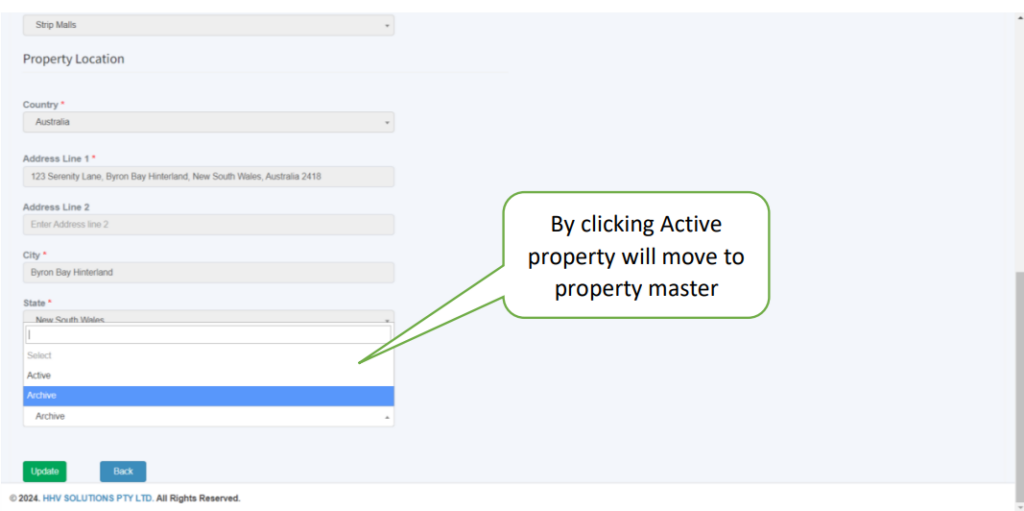
Status
The default status is ‘Archive,’ and you can choose the ‘Active’ option to transfer the property to the property master list.